Connecting live and simulated exchange(s)
Connecting Live and Simulated Exchanges
Before any bot can trade, you need at least one exchange account connected to TradeServer Cloud. This guide walks through creating a simulated account step by step, then covers how live accounts differ.
Simulated vs. Live: Quick Distinction
- Simulated account -- created entirely within TradeServer Cloud, no API keys needed, uses virtual funds. Labeled with a [Sim] prefix.
- Live exchange account -- requires API keys from your exchange. Trades with real funds and incurs real fees.
Start with a simulated account when learning the platform. Graduate to live when your bot strategies are tested and producing consistent results.
Creating a Simulated Account
Step 1: Open Exchange Accounts
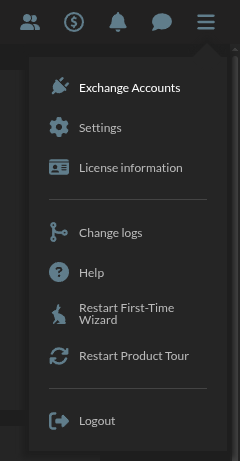
Click the hamburger menu (three horizontal lines) in the top-right corner of any screen. Select Exchange Accounts from the dropdown.
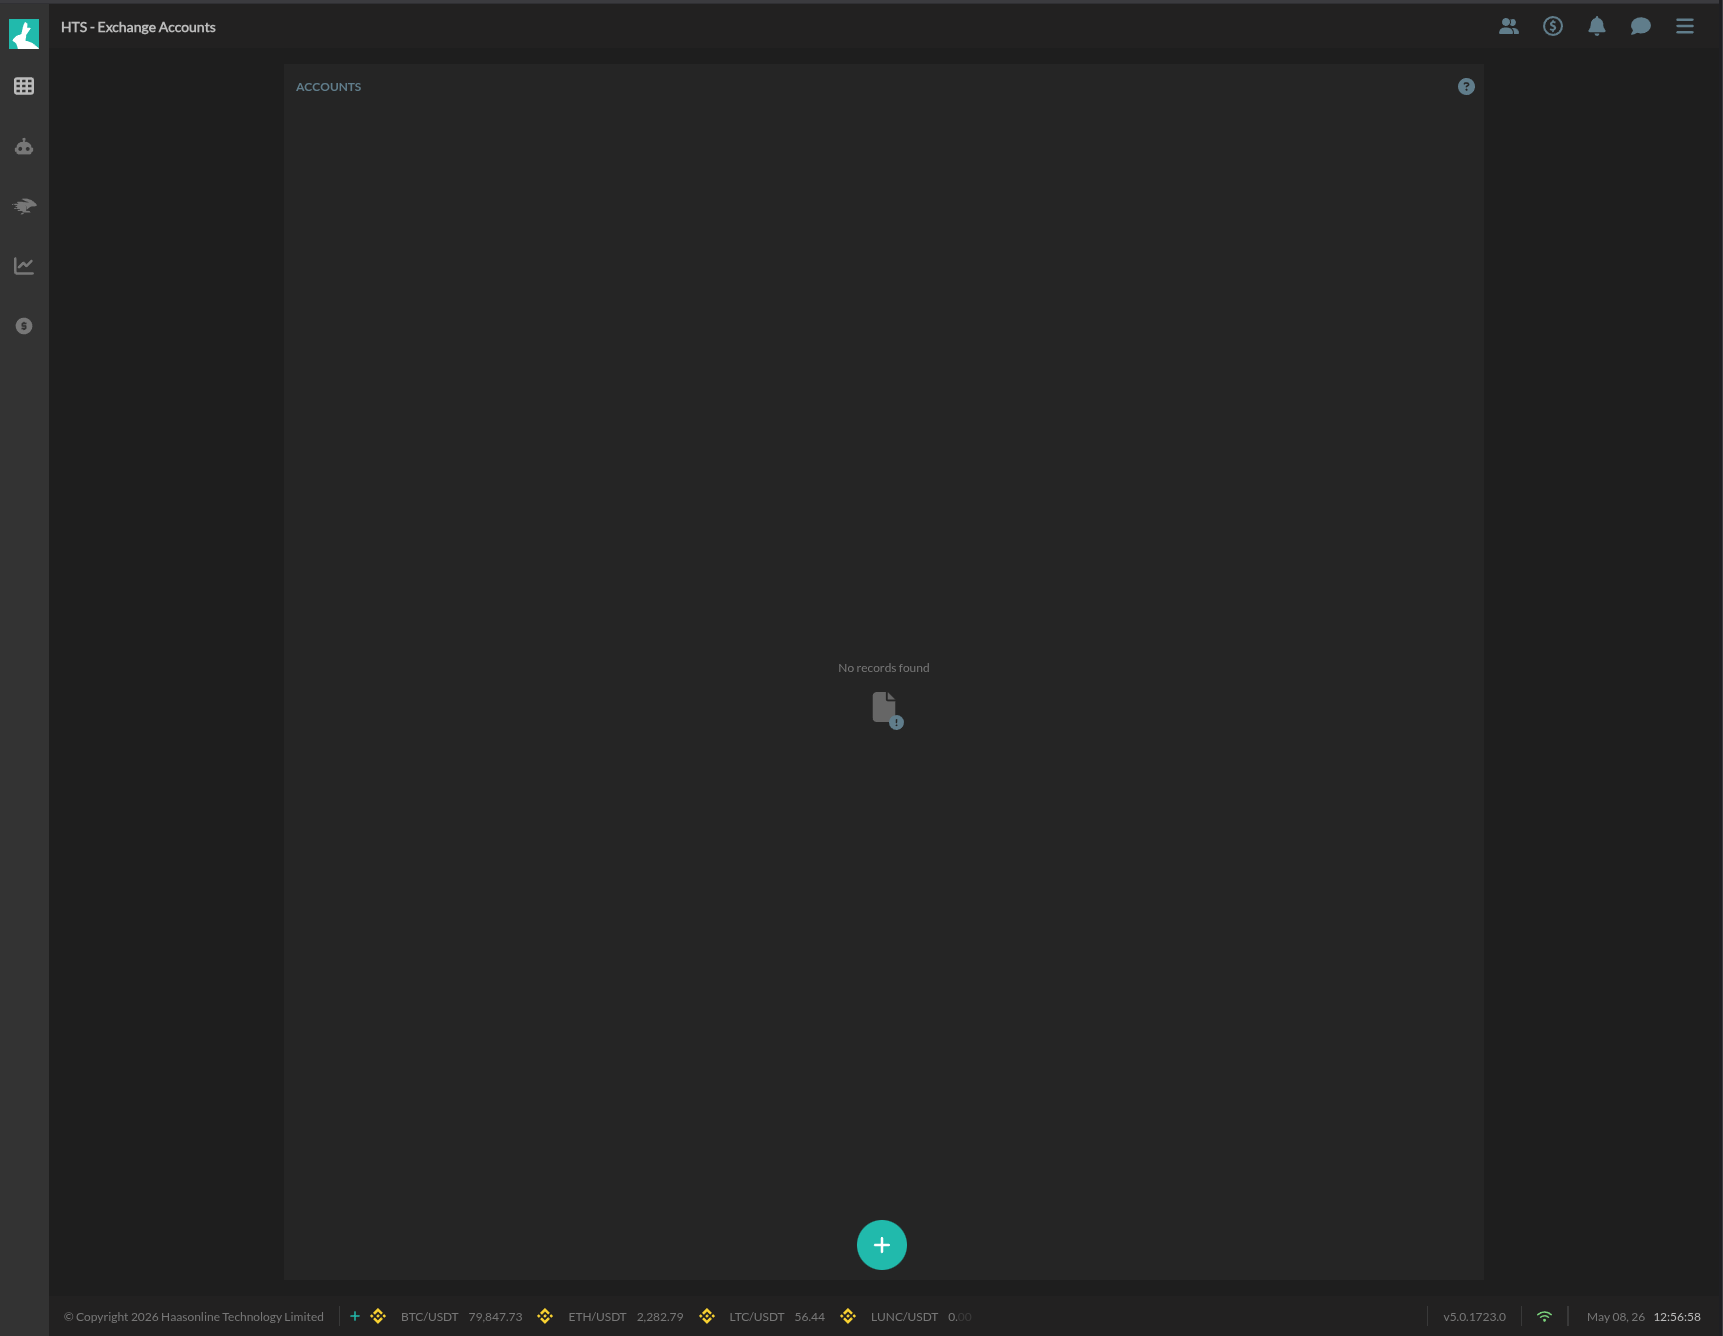
 If this is your first account, the Exchange Accounts page shows an empty state: a centered "No records found" message and a large teal + button at the bottom center. Click the + button.
 ### Step 2: Select Account Type
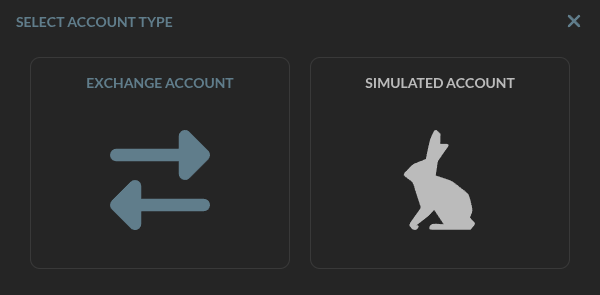
The Select Account Type modal presents two options:
| Option | Icon | Description |
|---|---|---|
| Exchange Account | Two opposing arrows | Connects a live exchange using API keys |
| Simulated Account | Rabbit silhouette | Creates a virtual account for paper trading |
Select Simulated Account.
 ### Step 3: Choose an Exchange
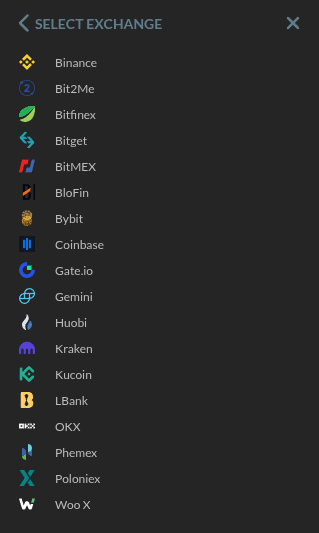
The Select Exchange modal lists every supported exchange. Pick the one you want to simulate -- in this example, Binance.
Available exchanges include: Binance, Bybit, Coinbase, Gate.io, Kraken, Kucoin, OKX, Bitfinex, BitMEX, Huobi, Gemini, Poloniex, LBank and Woo X among others.
 ### Step 4: Choose Exchange Type
After selecting Binance, the Select Exchange Type modal appears. It separates Binance into two categories:
Spot:
- Binance
- Binance.US
Leverage:
- Binance COIN Futures
- Binance USDT Futures
Select Binance USDT Futures to create a simulated perpetual futures account.
 ### Step 5: Name the Account
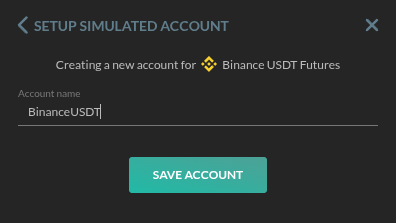
The Setup Simulated Account modal shows a summary of your selection ("Creating a new account for Binance USDT Futures") and an Account name input field. Type a name that identifies the account clearly, such as BinanceUSDT.
Click Save Account to finish.
 ### Step 6: Confirmation
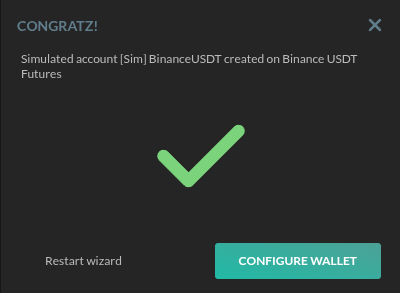
A Congratz! success modal appears confirming the creation:
Simulated account [Sim] BinanceUSDT created on Binance USDT Futures
From here you have two choices:
- Restart wizard -- create another account
- Configure Wallet -- set up the account's virtual balance
Click Configure Wallet to proceed.
 ## Configuring the Simulated Wallet
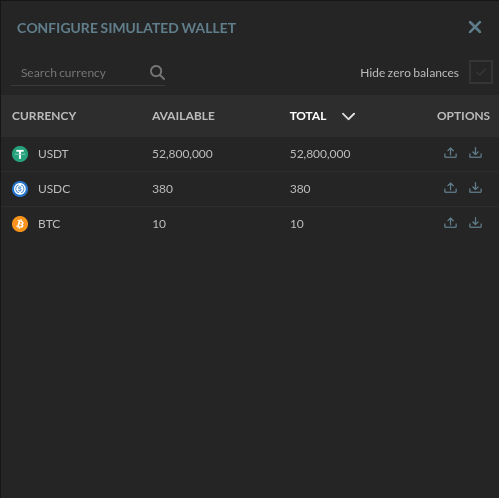 The Configure Simulated Wallet modal shows a table of assets and their balances:
| Column | Description |
|---|---|
| Currency | Asset symbol (USDT, USDC, BTC, etc.) |
| Available | Free balance available for trading |
| Total | Total balance including amounts in open orders |
| Options | Upload/download icons to add or remove funds |
Each simulated account starts with a preset balance in major currencies. For example, a Binance USDT Futures account might start with:
| Currency | Initial Balance |
|---|---|
| USDT | 52,800,000 |
| USDC | 380 |
| BTC | 10 |
Use the upload and download icons in the Options column to adjust balances. Add funds to test larger position sizes, or remove funds to simulate more constrained scenarios. These changes reset instantly within the simulated environment.
Close the modal when done. Your account now appears on the Exchange Accounts page, ready to be selected when creating bots.
Connecting a Live Exchange Account
The process for a live account follows the same first three steps, but instead of "Simulated Account" in Step 2, select Exchange Account.
The platform will then ask for:
- Exchange -- same selection as Step 3
- Exchange type -- same selection as Step 4
- API Key and Secret -- generated from your exchange's API management page
How to generate API keys depends on the exchange, but the general process is:
- Log into your exchange account
- Navigate to API Management (usually under account or security settings)
- Create a new API key with trading permissions enabled
- Copy the API Key and Secret Key
- Paste them into TradeServer Cloud when prompted
Never share your API secret. TradeServer Cloud only needs trading permissions, not withdrawal permissions. Restrict API key access to specific IP addresses if your exchange supports it.
Once connected, your live account appears on the Exchange Accounts page alongside your simulated accounts, distinguishable by the absence of the [Sim] prefix.
Managing Your Accounts
From the Exchange Accounts page you can manage all your connected accounts:
- View account status
- Reconfigure wallet amounts for sim accounts
- Edit, refresh, or remove accounts